
🌿 How to Dry & Store Herbs at Home (Simple Guide for Beginners)
Drying herbs at home is one of the easiest and most rewarding things you can do once you start using medicinal plants. It saves money, keeps herbs fresh for months, and gives you full control over quality. At Medicinal Plants Hub, we always keep things simple, so here’s a no-stress guide to help you dry and store herbs the right way, even if you're brand-new to this.
You don’t need fancy tools.
You don’t need special machines.
You just need clean herbs, a small space, and a little patience.
Let’s break it down the easy way.
🌱 Why Dry Your Own Herbs?
Drying herbs at home has a few big benefits:
-
You know exactly how they were grown
-
They keep their flavor and medicinal strength longer
-
You avoid store-bought herbs filled with dust or additives
-
You save a ton of money
-
You always have herbs ready for teas, remedies, and recipes
If you plan to build a beginner-friendly herbal routine, learning how to dry herbs is a must.
🌿 Step 1: Choose the Right Herbs to Dry
Not every herb dries the same way, but these are the easiest for beginners:
-
Mint
-
Lemon balm
-
Basil
-
Rosemary
-
Thyme
-
Oregano
-
Sage
-
Lavender
-
Chamomile
-
Echinacea leaves
All of these dry well using simple air-drying techniques.
At Medicinal Plants Hub, we recommend starting with mint or lavender; they’re basically foolproof.
✂️ Step 2: Harvest Your Herbs the Right Way
How you pick herbs affects how well they dry.
Follow these tips:
-
Harvest in the morning, after the dew has dried
-
Choose healthy, green leaves (no yellow or wilted ones)
-
Use clean scissors to avoid damaging the plant
-
Shake off dust or bugs — don’t wash unless absolutely needed
If you must wash them, dry completely before moving to the next step.
🍃 Step 3: Prep the Herbs Before Drying
Remove:
-
Thick stems
-
Damaged leaves
-
Dirt or debris
For leafy herbs like mint, basil, or lemon balm, separate the leaves slightly so air can move around them.
For woody herbs like rosemary or thyme, keep the stems intact; they dry beautifully.
🪴 Step 4: Choose Your Drying Method
Here are the three easiest methods for beginners:
1. Air Drying (Best for most herbs)
This is the traditional and most natural method.
How to do it:
-
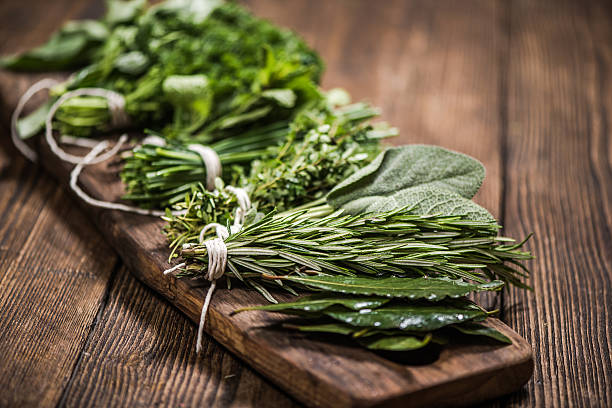
Tie small herb bundles with string
-
Hang them upside down in a warm, dry place
-
Avoid direct sun (it breaks down beneficial oils)
-
Let them dry 7–14 days
They’re ready when the leaves crumble easily.
2. Flat-Drying Method (Great for leaves & flowers)
Perfect for chamomile, mint, basil, and lavender.
How to do it:
-
Lay herbs on a clean towel or mesh screen
-
Spread them out so they don’t overlap
-
Place in a dark, dry room
-
Turn them daily until crisp
3. Oven Drying (Fast method)
Use this if you’re short on time.
How to do it:
-
Set oven to the lowest temperature (180°F / 80°C or lower)
-
Spread herbs on a baking sheet
-
Keep the oven door slightly open
-
Check every 10 minutes
Be careful; too much heat destroys flavor and medicinal strength.
🫙 Step 5: Store Herbs the Right Way
Once herbs are fully dry, store them properly to keep their quality.
Best containers:
-
Glass jars (Mason jars, recycled jars, etc.)
-
Tin containers
-
Airtight spice jars
Avoid:
-
Plastic bags (they collect moisture)
-
Clear containers in direct sunlight
-
Warm or humid rooms
General rule:
Store herbs in a cool, dark, dry place — this protects their oils, color, and strength.
⏳ How Long Do Dried Herbs Last?
Most dried herbs last:
-
6 months for soft leafy herbs (mint, lemon balm, basil)
-
1 year for woody herbs (rosemary, thyme, sage)
-
6–12 months for dried flowers (lavender, chamomile)
They won’t “go bad,” but they lose strength over time.
At Medicinal Plants Hub, we recommend adding a small piece of paper tape on the jar with the date you dried them.
🌿 Final Thoughts
Drying and storing herbs at home is simple once you know the basics. You don’t need expensive equipment; just fresh herbs, airflow, and patience. Whether you’re building your herbal pantry or starting your first indoor garden, this skill will set you up for success.
Start with one herb this week.
Dry it. Store it.
Feel the difference when you use something you made yourself.


.png)